After many years of repairing and restoring violins and violas, and making replacement parts during the process, I’m going to put it all together, and make a violin. I’ll be posting progress here. No guarantees on the final outcome.
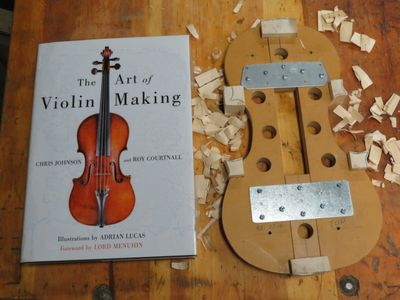
The violin build has started. Willow blocks were split out from some wood that I cut 3 1/2 years ago. The blocks were glued to the mold.
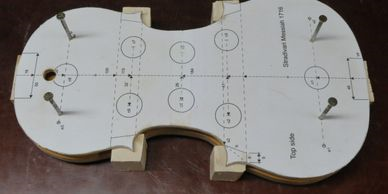
— and then carved to match the final internal outline.
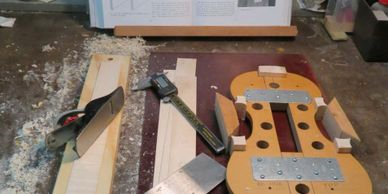
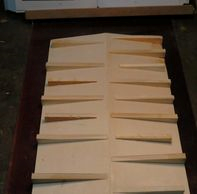
The ribs come next. The rib stock comes about 2mm thick, and needs to be thinned down to about 1.2mm thick before bending. I’m using a plane with a toothed blade, followed by a scraper to do the work.
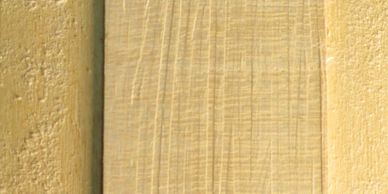
Using a low angel light, you can see the grooves left by the toothed plane, and tell when scraping has removed the grooves.
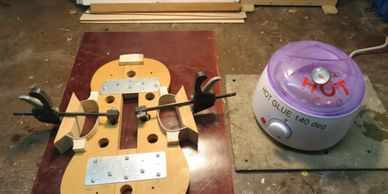
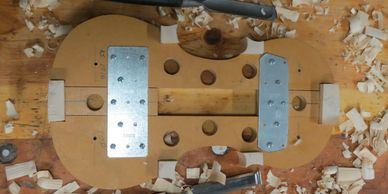
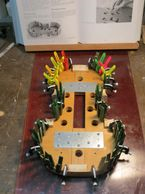
The rib stock is moistened, and bent to shape around a bending iron, heated to about 450 deg. F. The C bouts are being done here, and glued to the blocks on the mold, with hot hide glue.
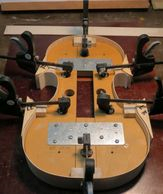
The rest of the ribs have been bent, and glued to the blocks on the mold
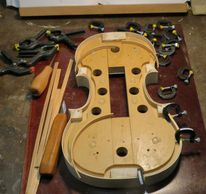
Putting in the linings is thee next step. I’m using some Willow that I cut several years ago. These thin strips get planed down to 2mm x 8mm, and get heat bent to fit the exact shape of the ribs.
The linings have been glued in, and after the glue dries overnight, the other side will be done.
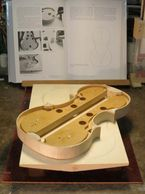
The linings are in, and the two halves of the front have been carefully joined, and glued together with hide glue. The outline of the ribs, with an overhang allowance, has been marked on the front.
I’m going a little off script here. “The Art of Violin Making” says to mount the front, upside down, on a beam, clamped to the bench, and sawing by hand, with a coping saw. I’ve lightly glued some cedar wedges to the crowned side of the front, so that it will sit flat on the bandsaw table. I can then cut it out that way.
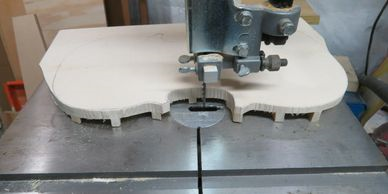
Cutting out the front, with the wedges attached, on the bandsaw
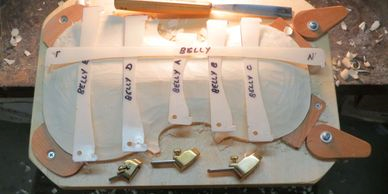
Starting to carve the belly. I made up a set of arching templates yesterday. These will be used to determine the final shape of the belly of the violin. I need to get some purfling (the little 3 part black and white stripe around the edges of the front and back) before I go too much further.
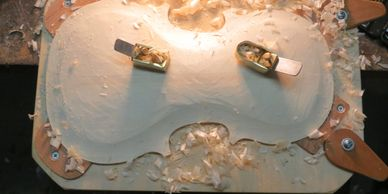
These fingerplanes are great for doing this arching work. As with all of the tools, the blades are kept razor sharp!.
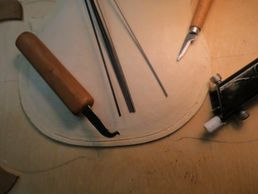
Purfling is made up out of three, very thin strips of wood (outer black, center white), that is about 1.4mm thick. A tool with two sharp blades, spaced the width of the purfling, is used to mark the channel. The lines are cut deeper, and the channel is cleaned out to a depth of about 2mm.
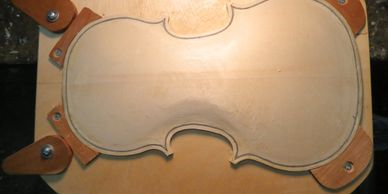
The purfling is glued in, and the arching is getting close to finished. After the arching is finalized, I’ll move on to hollowing out the inside of the plate.
© 2024 Wall Independent – All Rights Reserved.